Sustainability Month: A Felting Tutorial
We love this fast and easy way to patch and repair our beloved knits. Visible mending has a beauty unto itself, and the more you lean into it, and not try to hide or disguise it, the more beautiful the result.
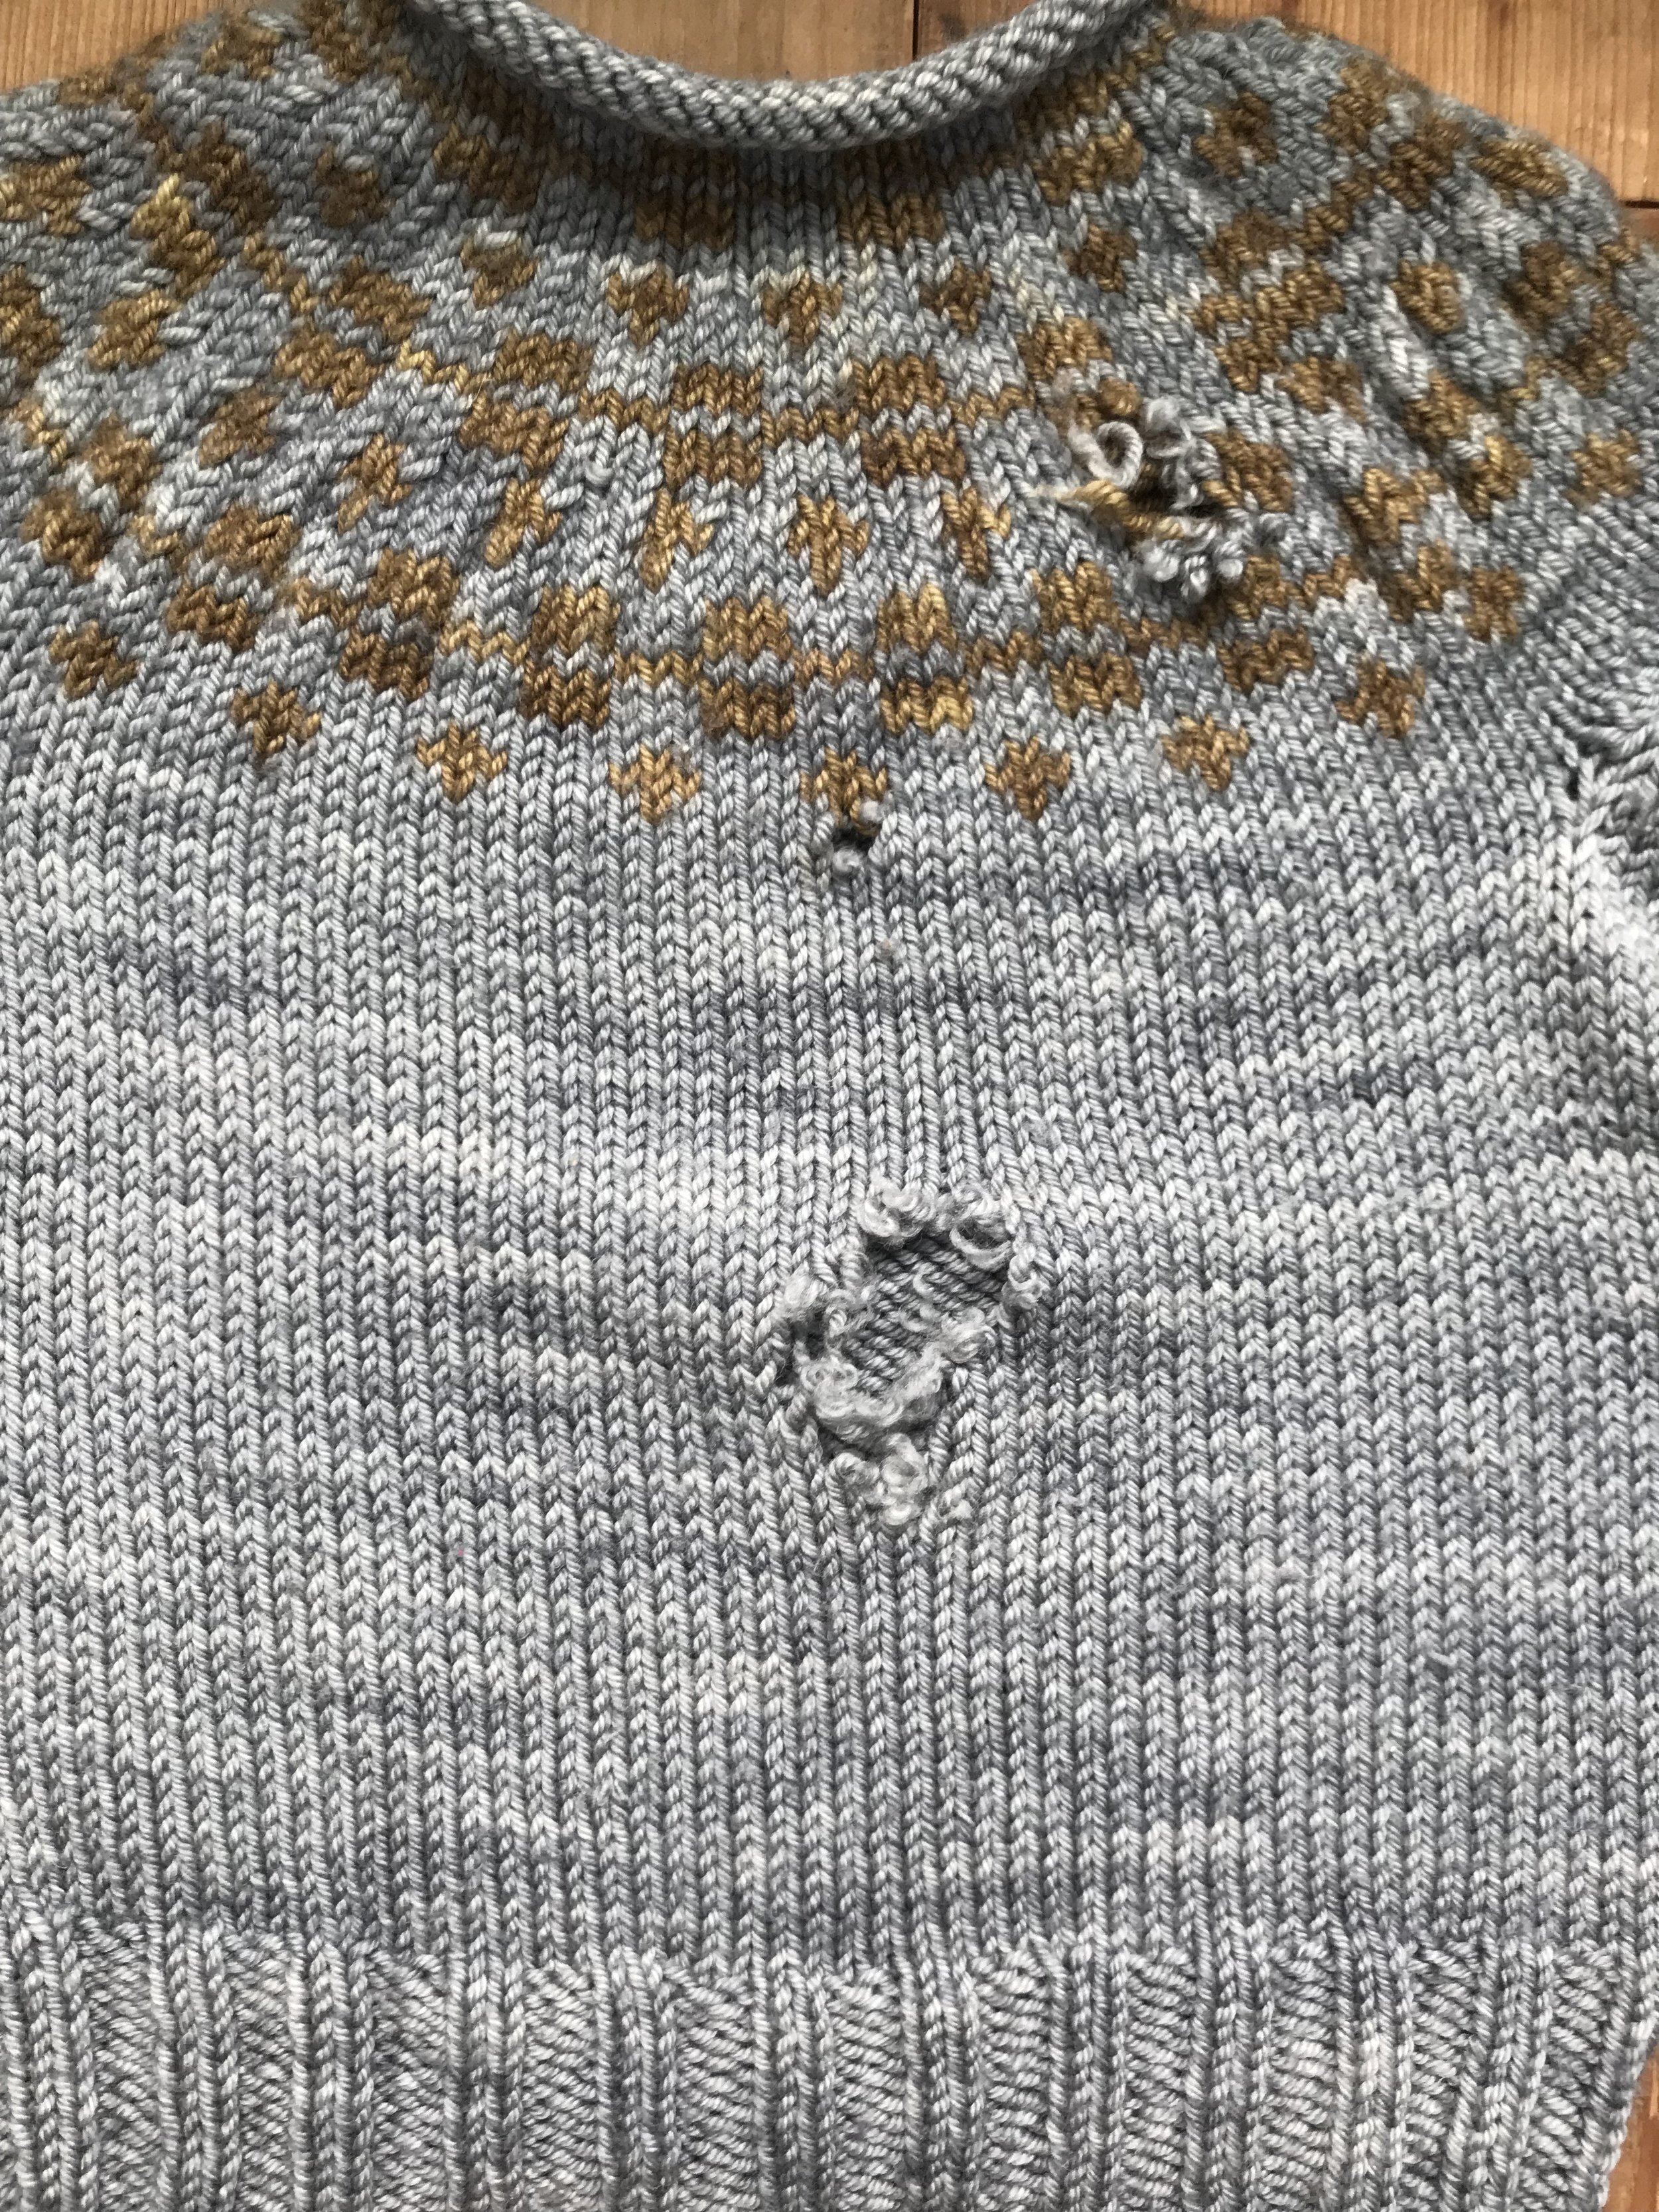
The idea: natural wool roving (unspun wool that has been carded, but not twisted, so it's like a big puffy cloud of fiber) is felted directly onto the garment to bind the hole closed. No sewing or knitting skills are needed. If you have had the misfortune to discover your garment has been eaten by moths, this is the repair for you.

Pinecone leggings + colorful felting to cover holes
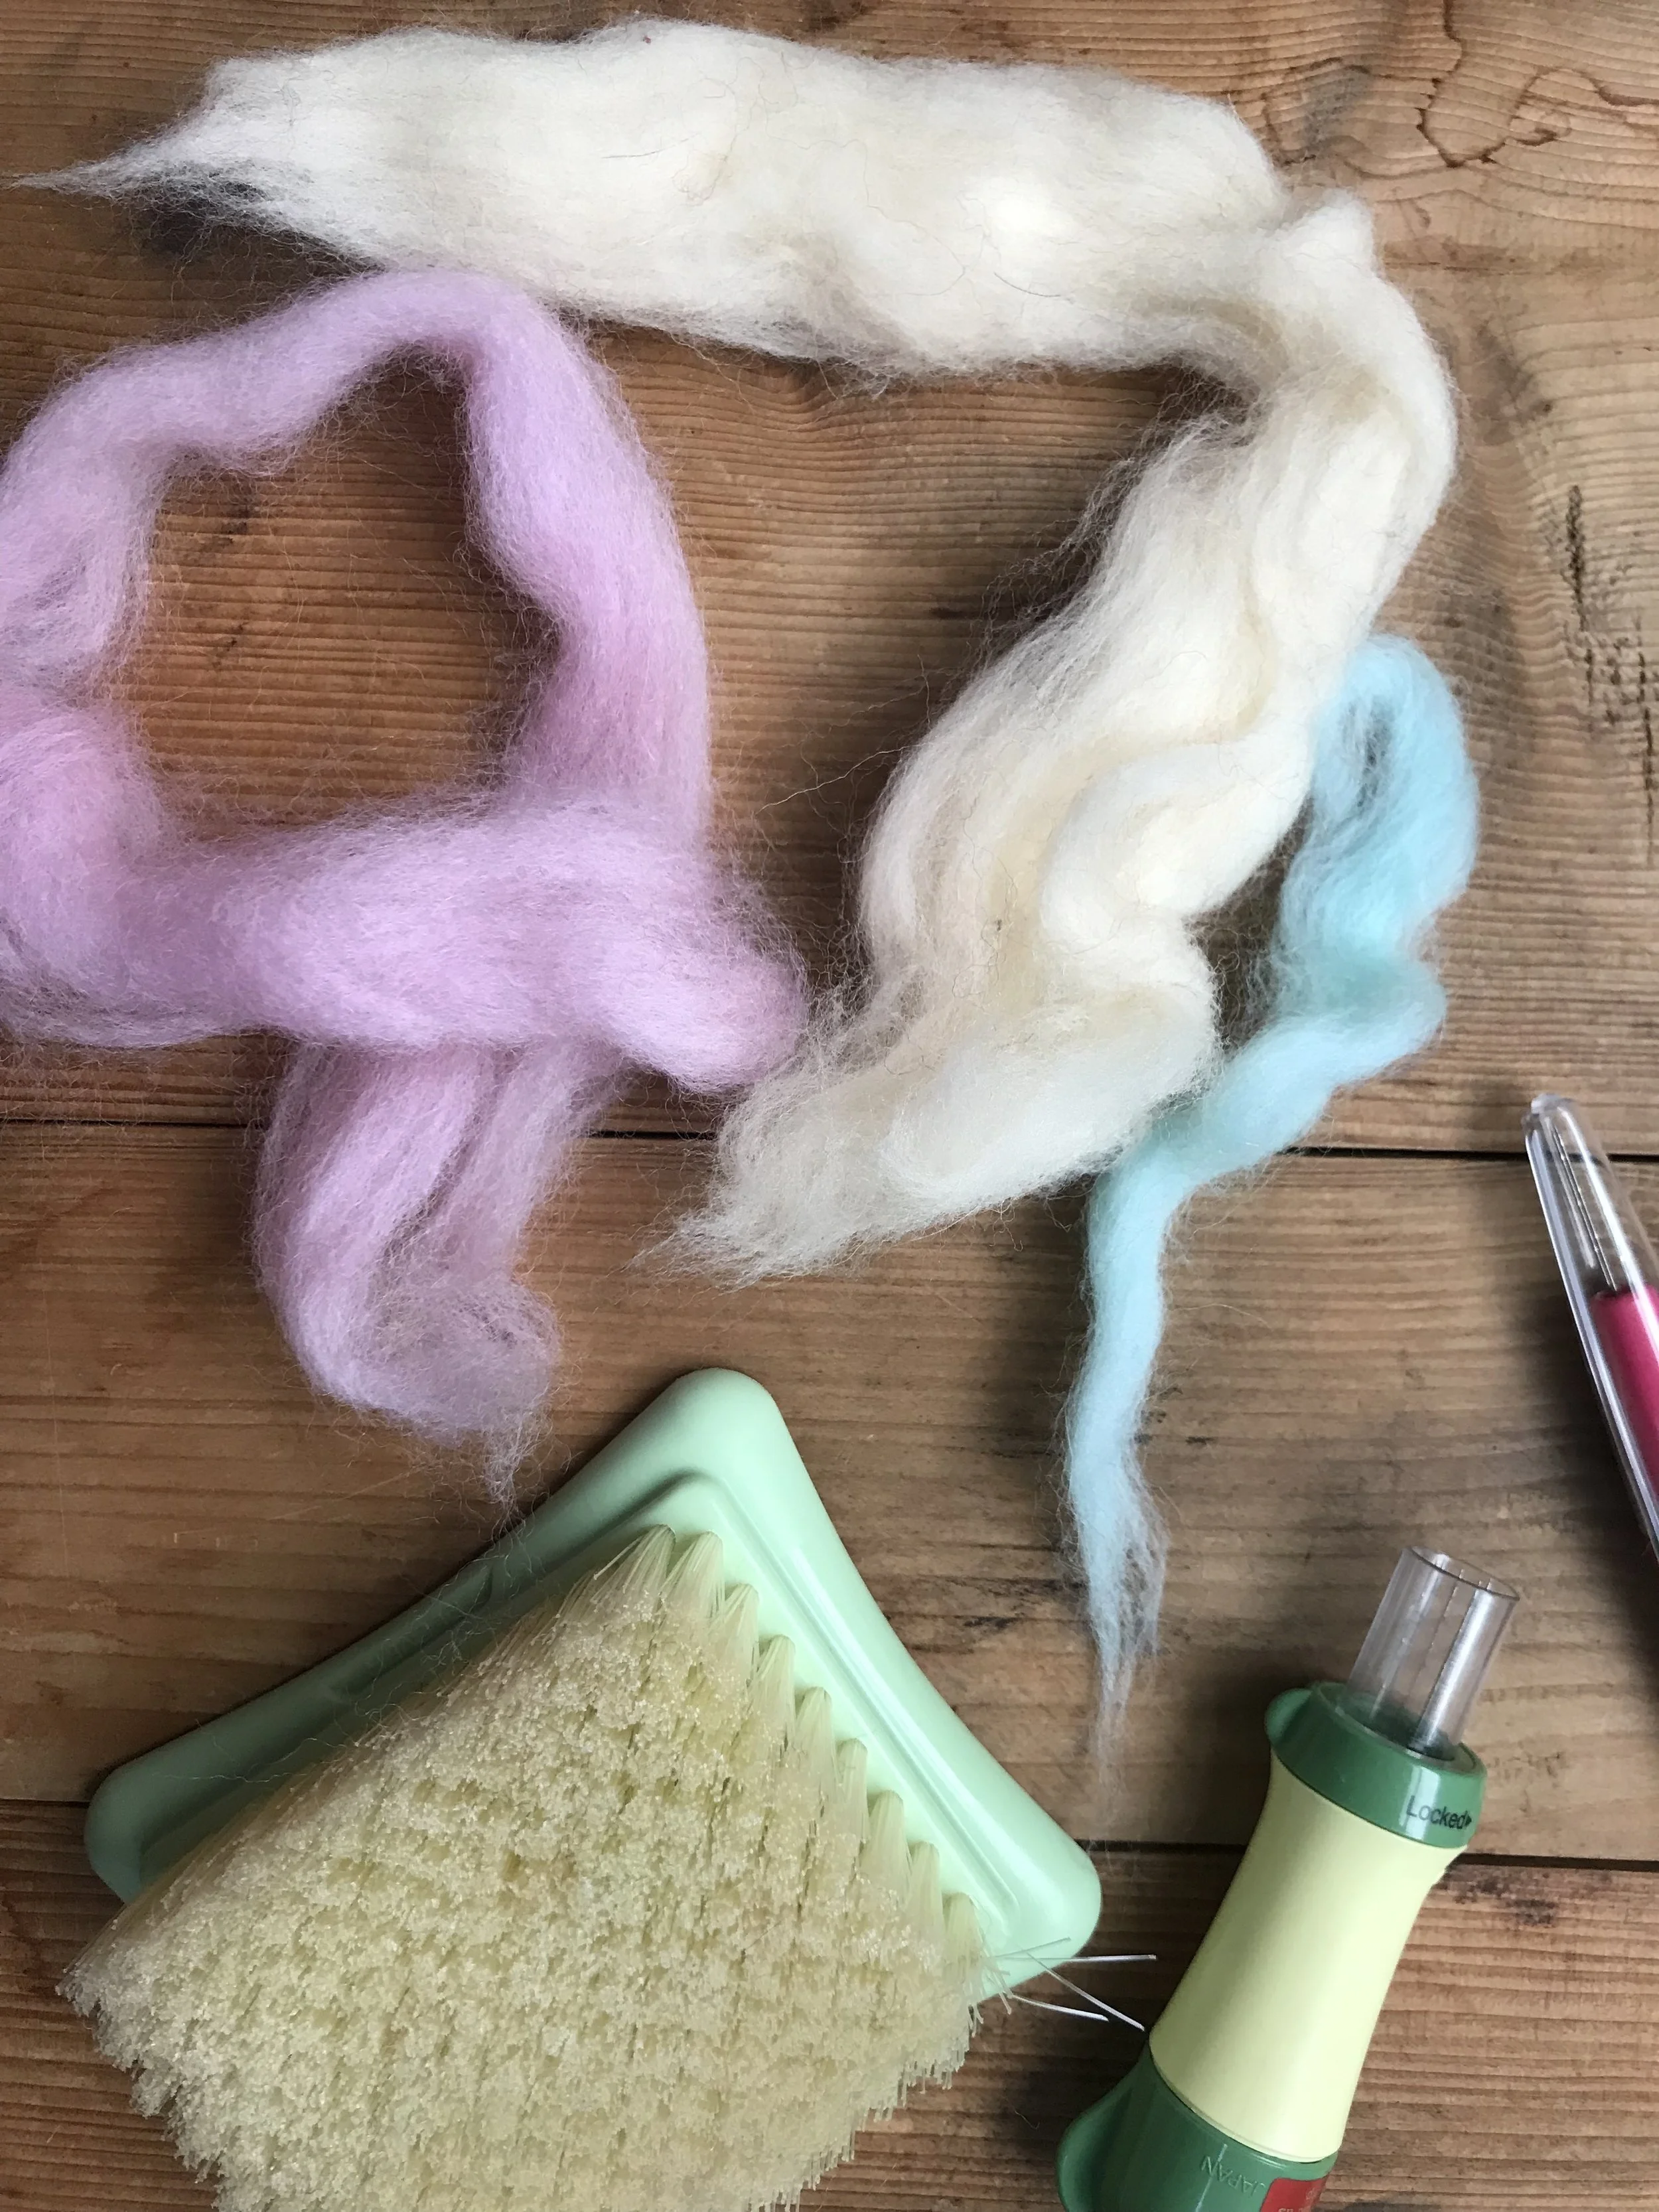
Here's what you'll need:
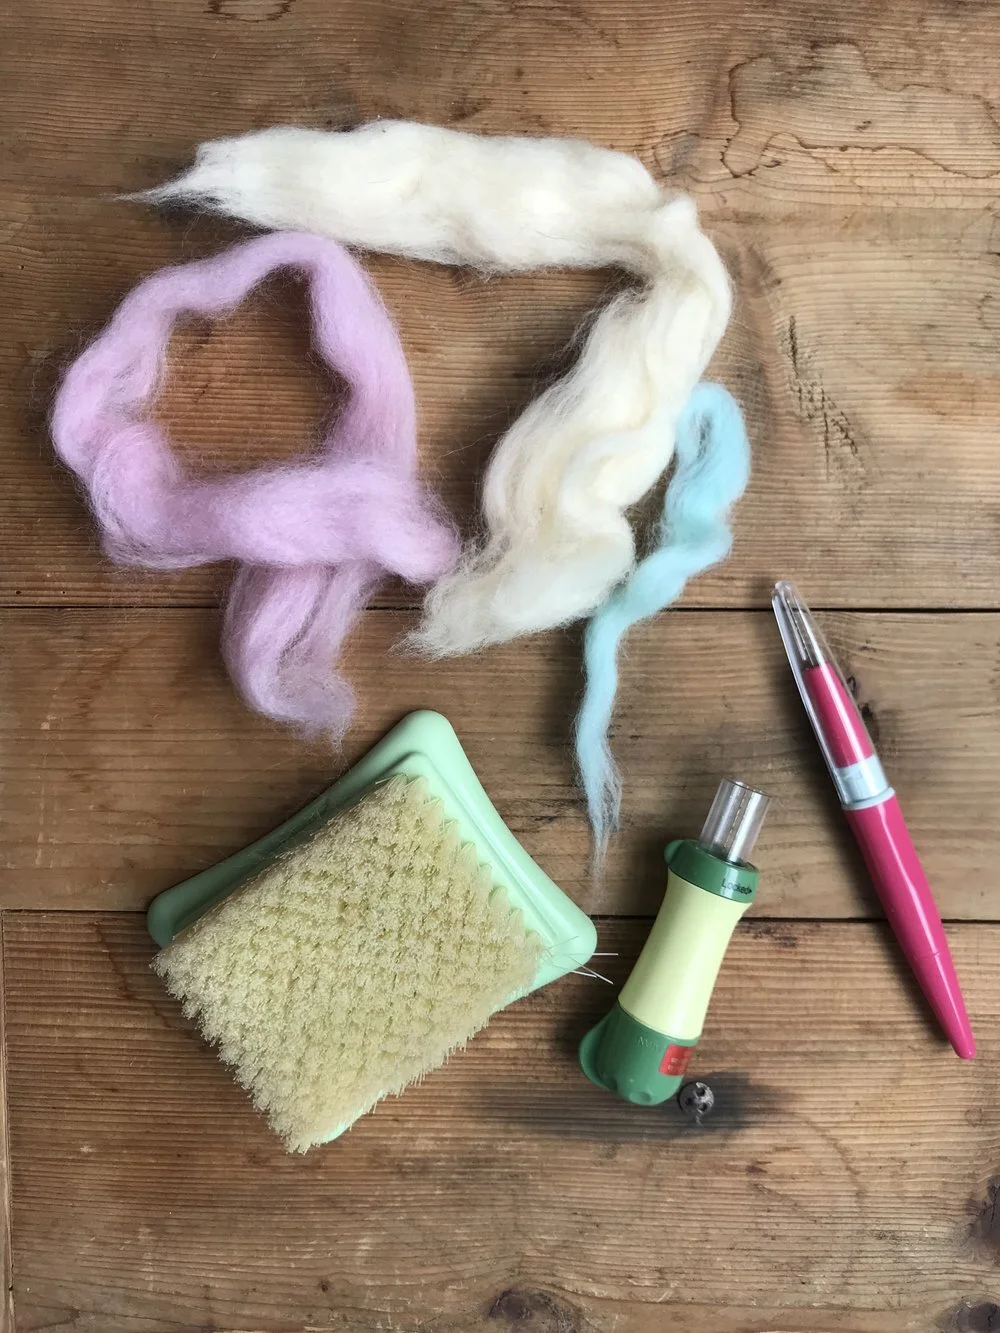
Wool roving. And if you can find beautiful hand dyed roving, even better!
*We like the fat needle tool for working with kids, because there is a needle guard, but constant supervision is mandatory. The needles are sharp!!
Steps:
1. We suggest laundering the garment first.
2. Pull off (the fibers prefer to be pulled apart rather than cut) a piece of roving. Go small at first, you probably need less than you think.
3. Matte it into a loose ball with the warmth of your hands.
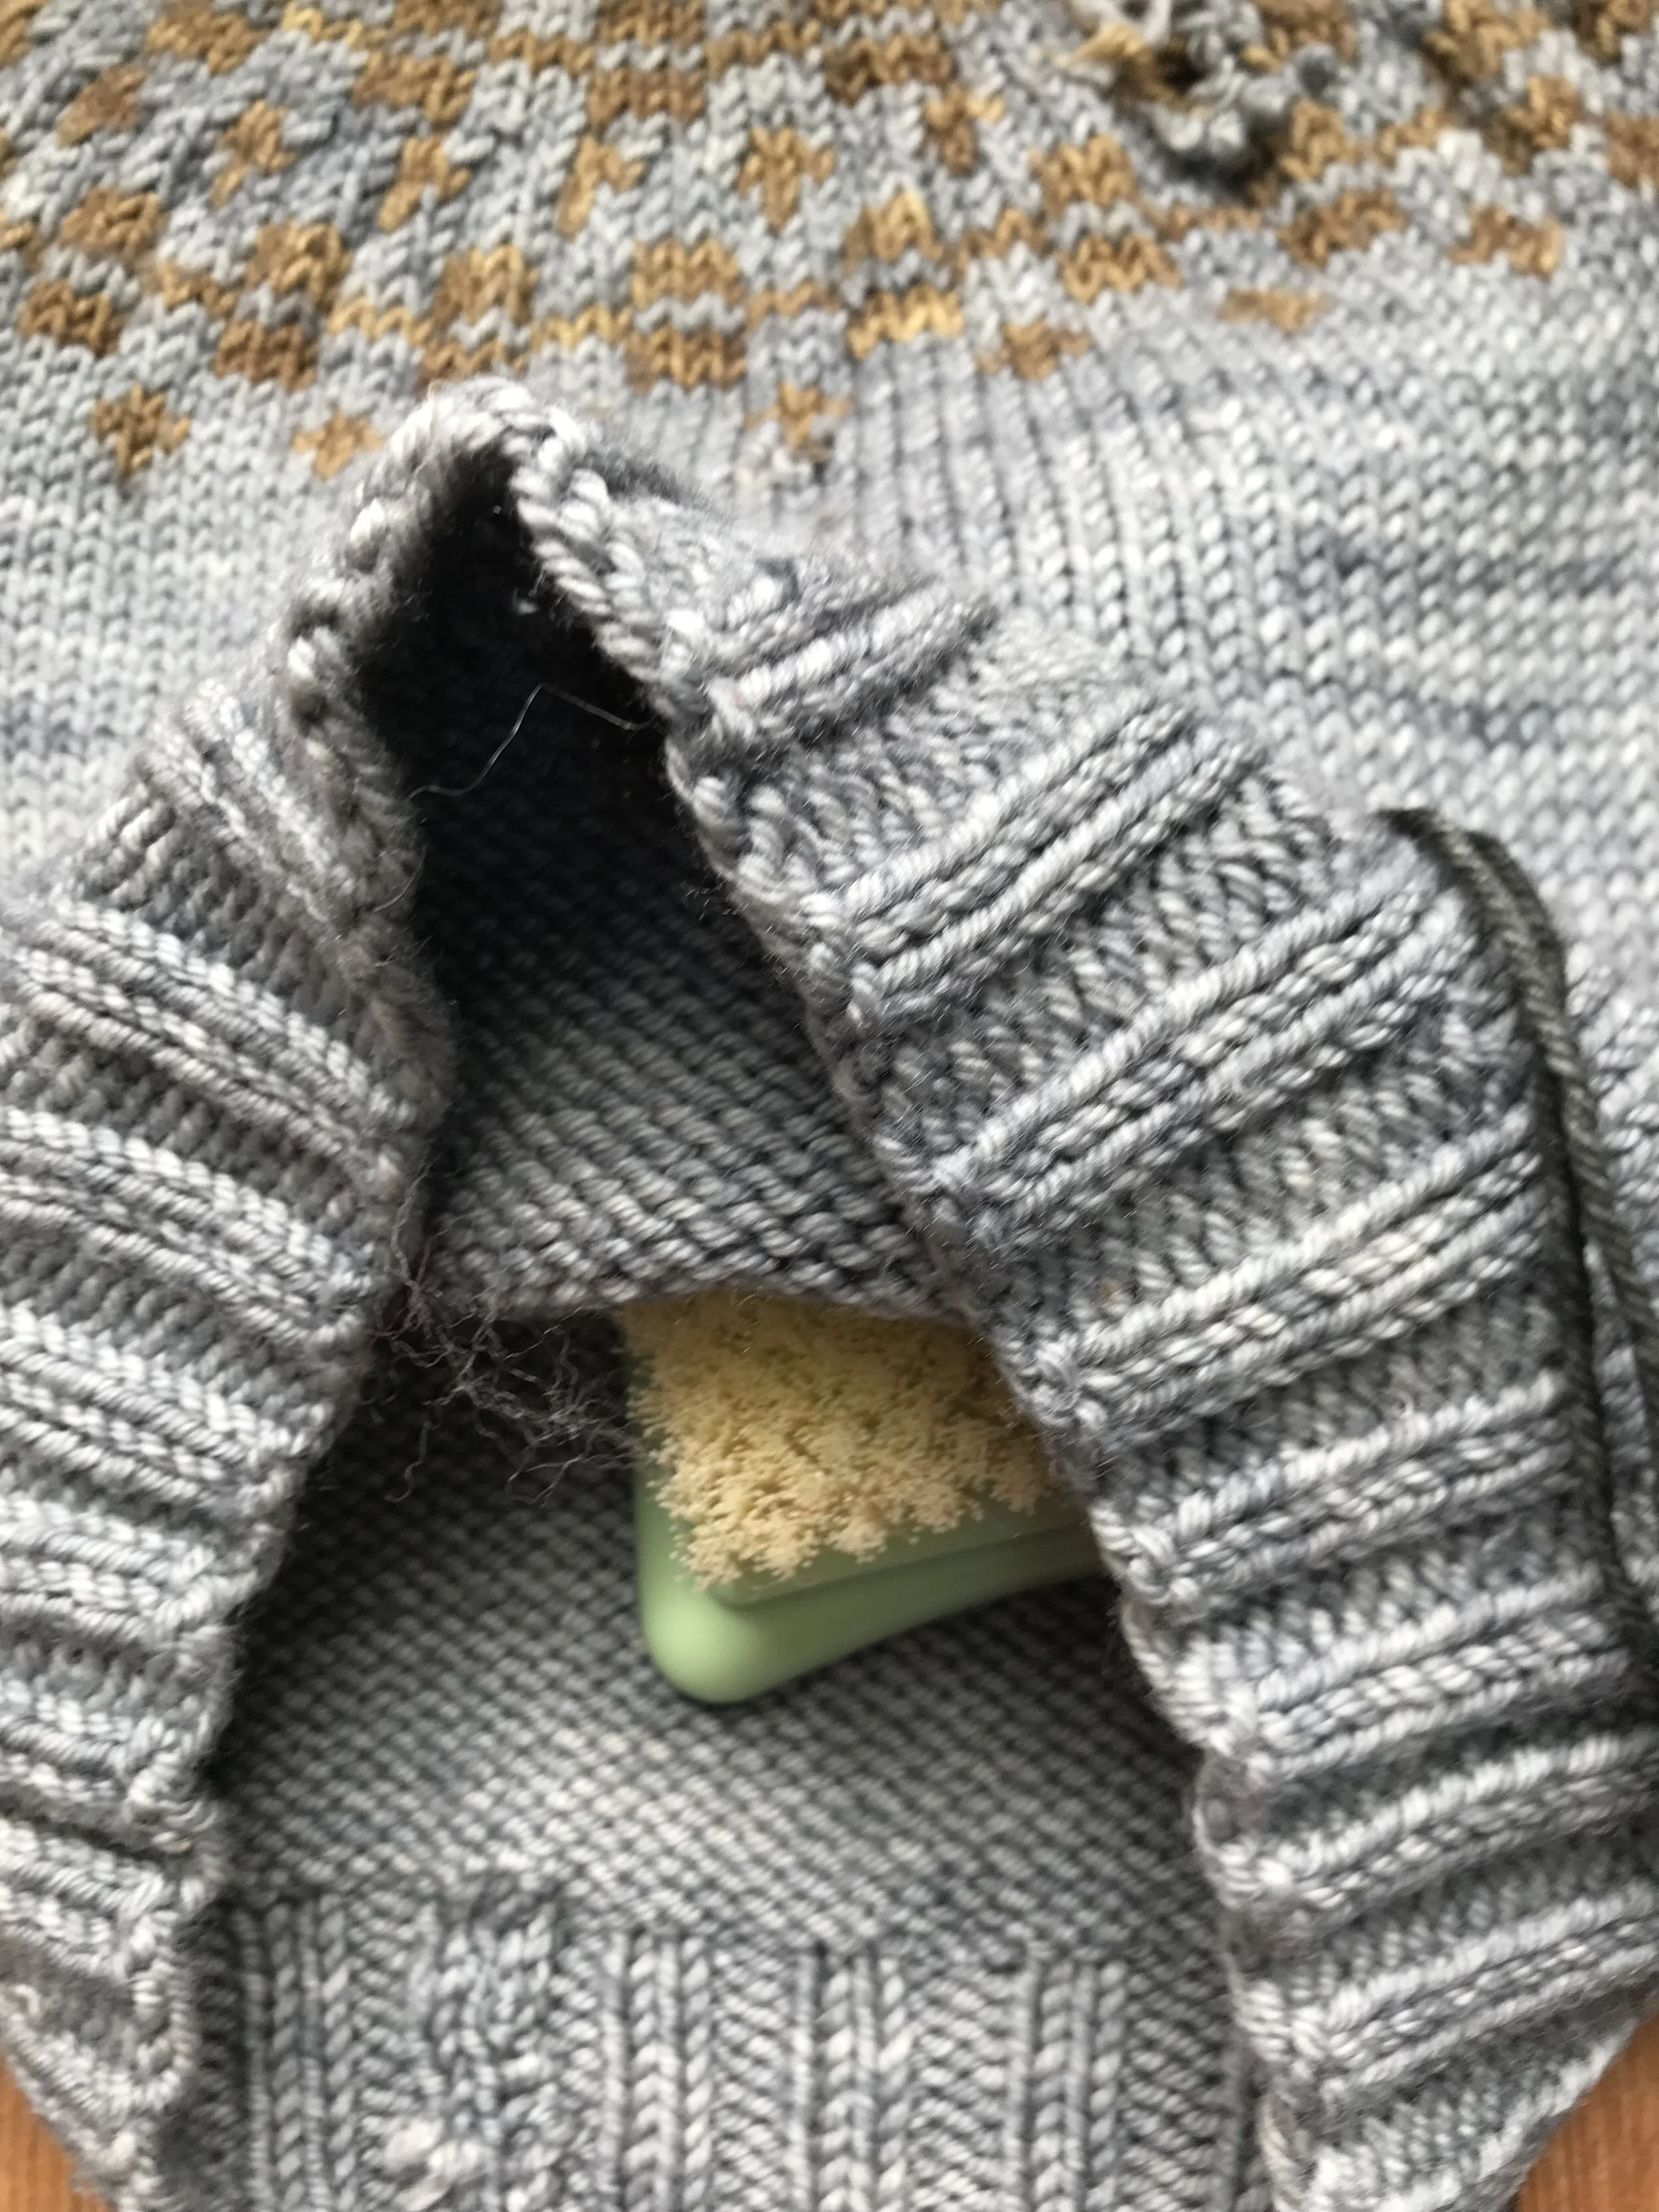
4. Place the felting matte or sponge underneath garment where the hole is.
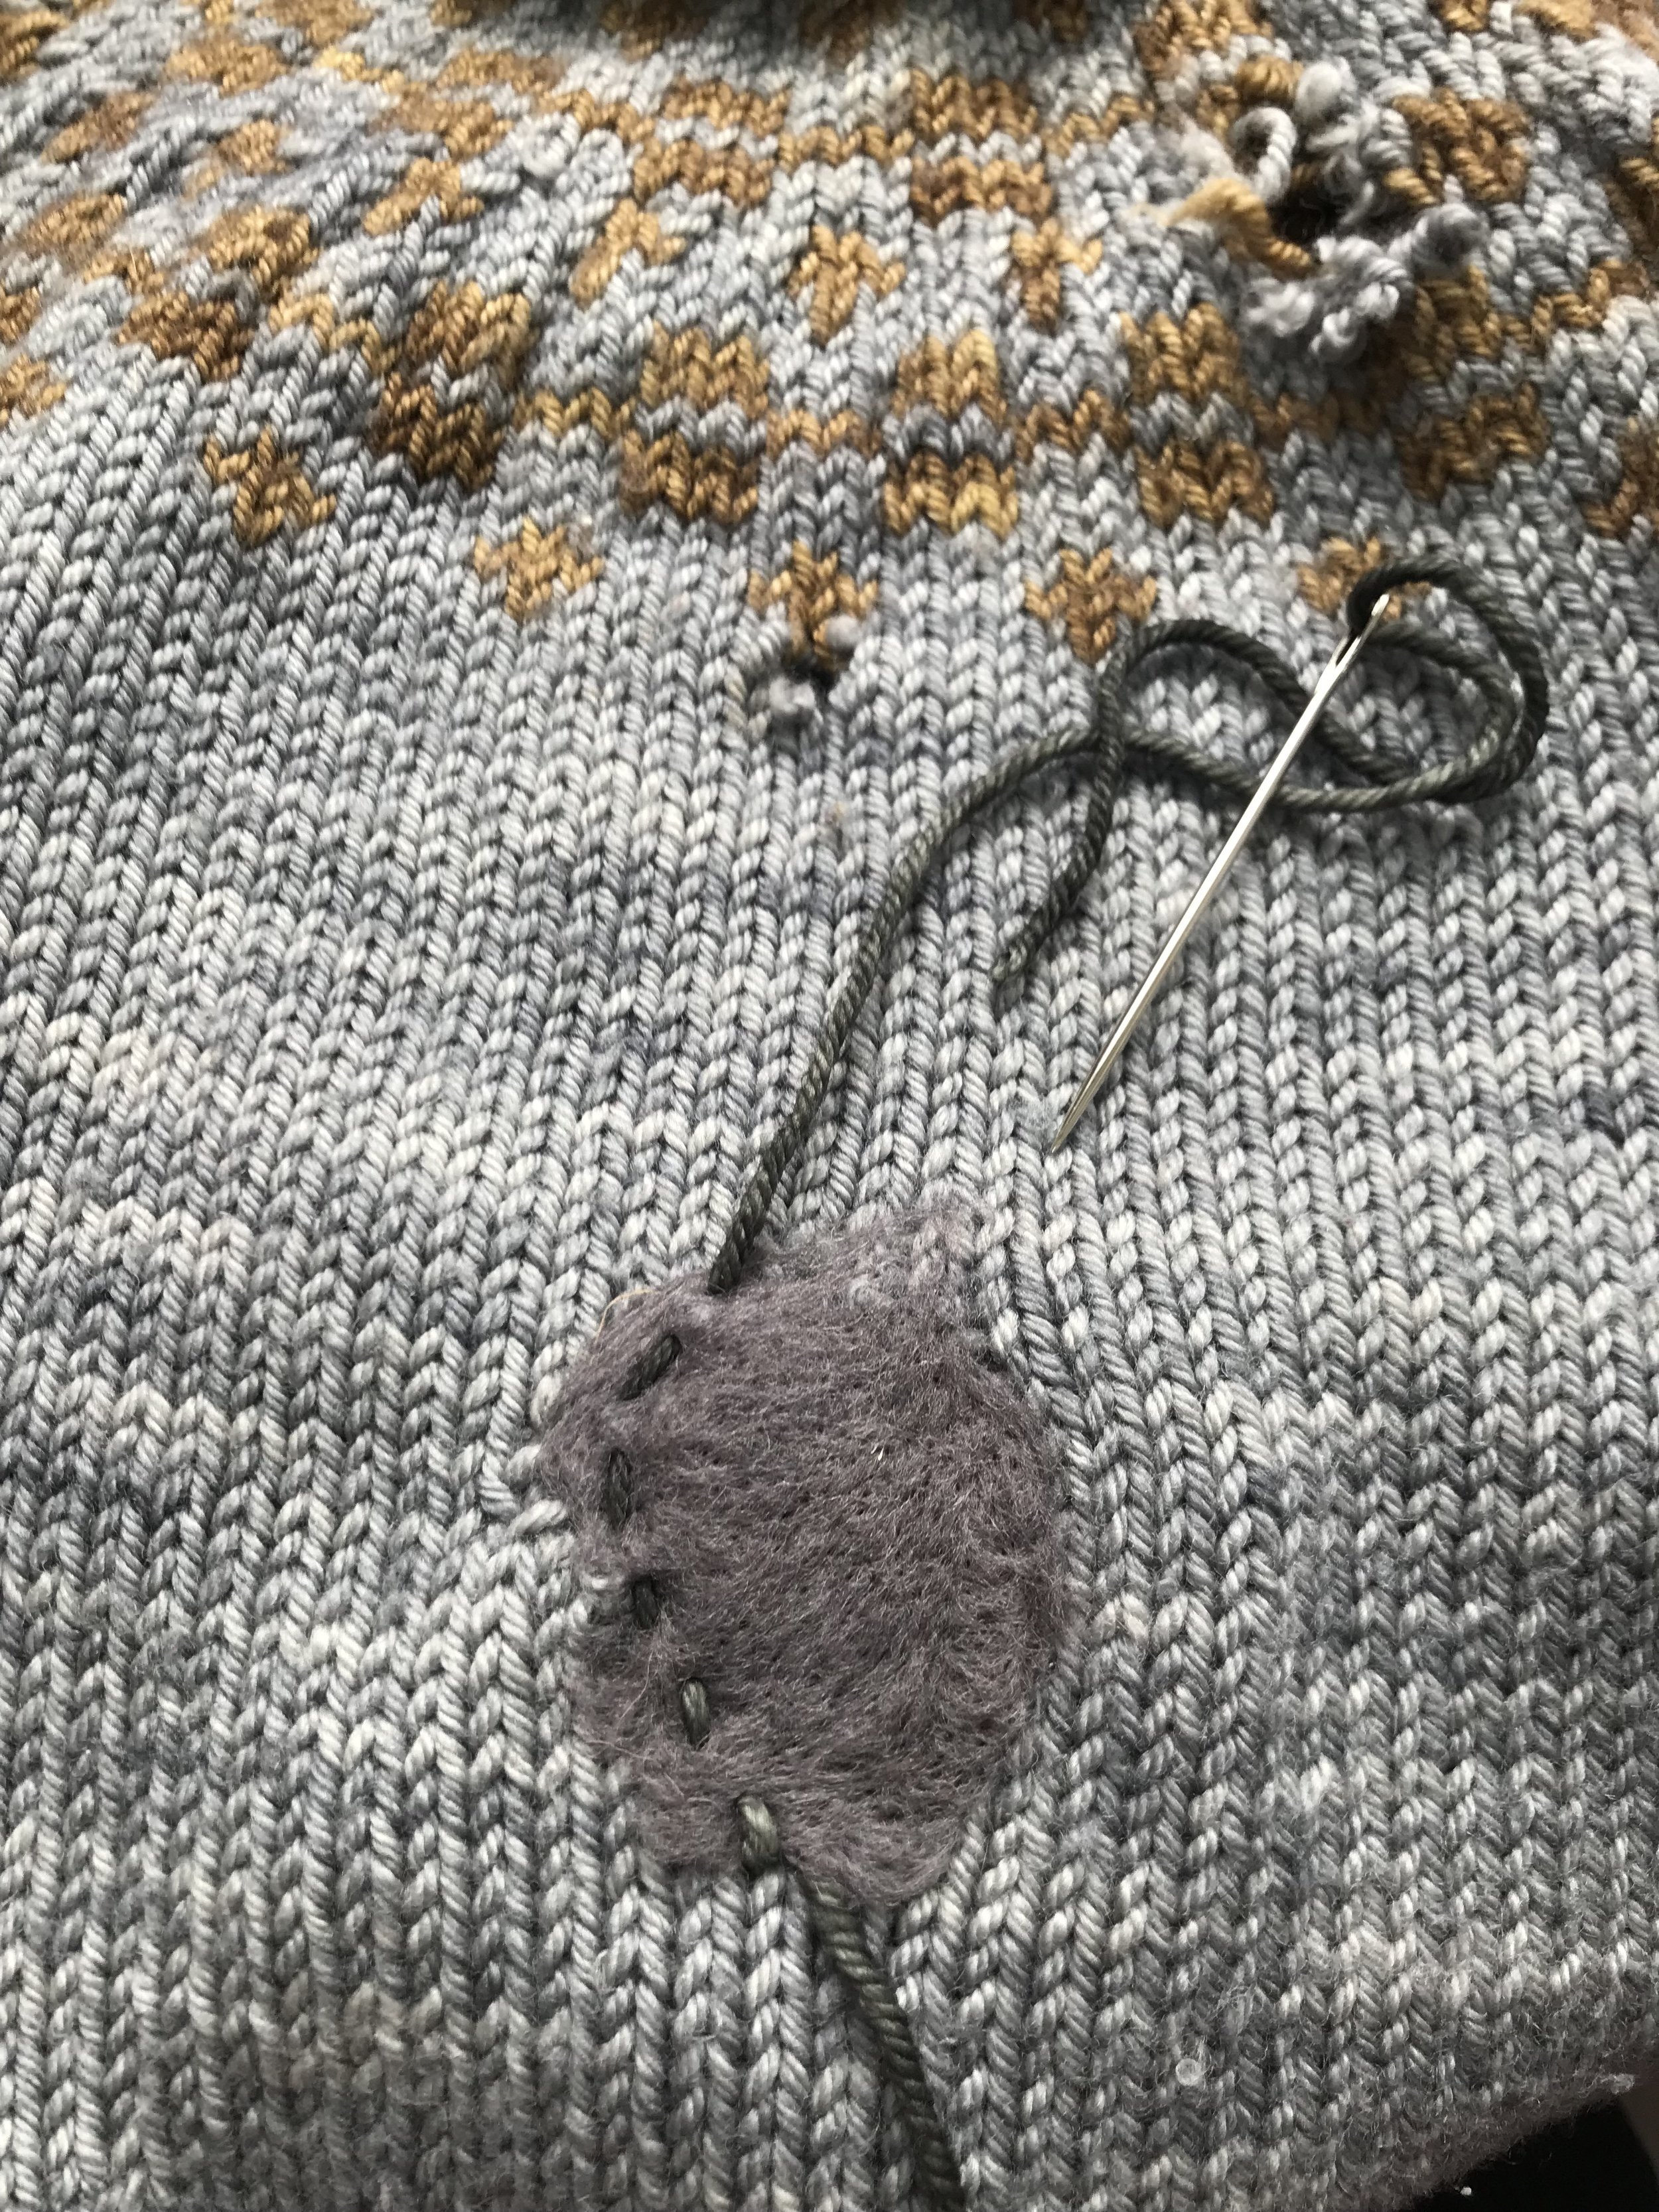
5. Lay the roving on top of hole. You want the roving to extend beyond the hole a smidge.
6. Start felting. Within a few punches you will see how easy it is and develop your own technique. The roving when abraded starts to felt up, and binds to itself and the other wool around it.
7. Punch the roving with the tool for a few minutes. You will see it flatten and shrink in a bit.
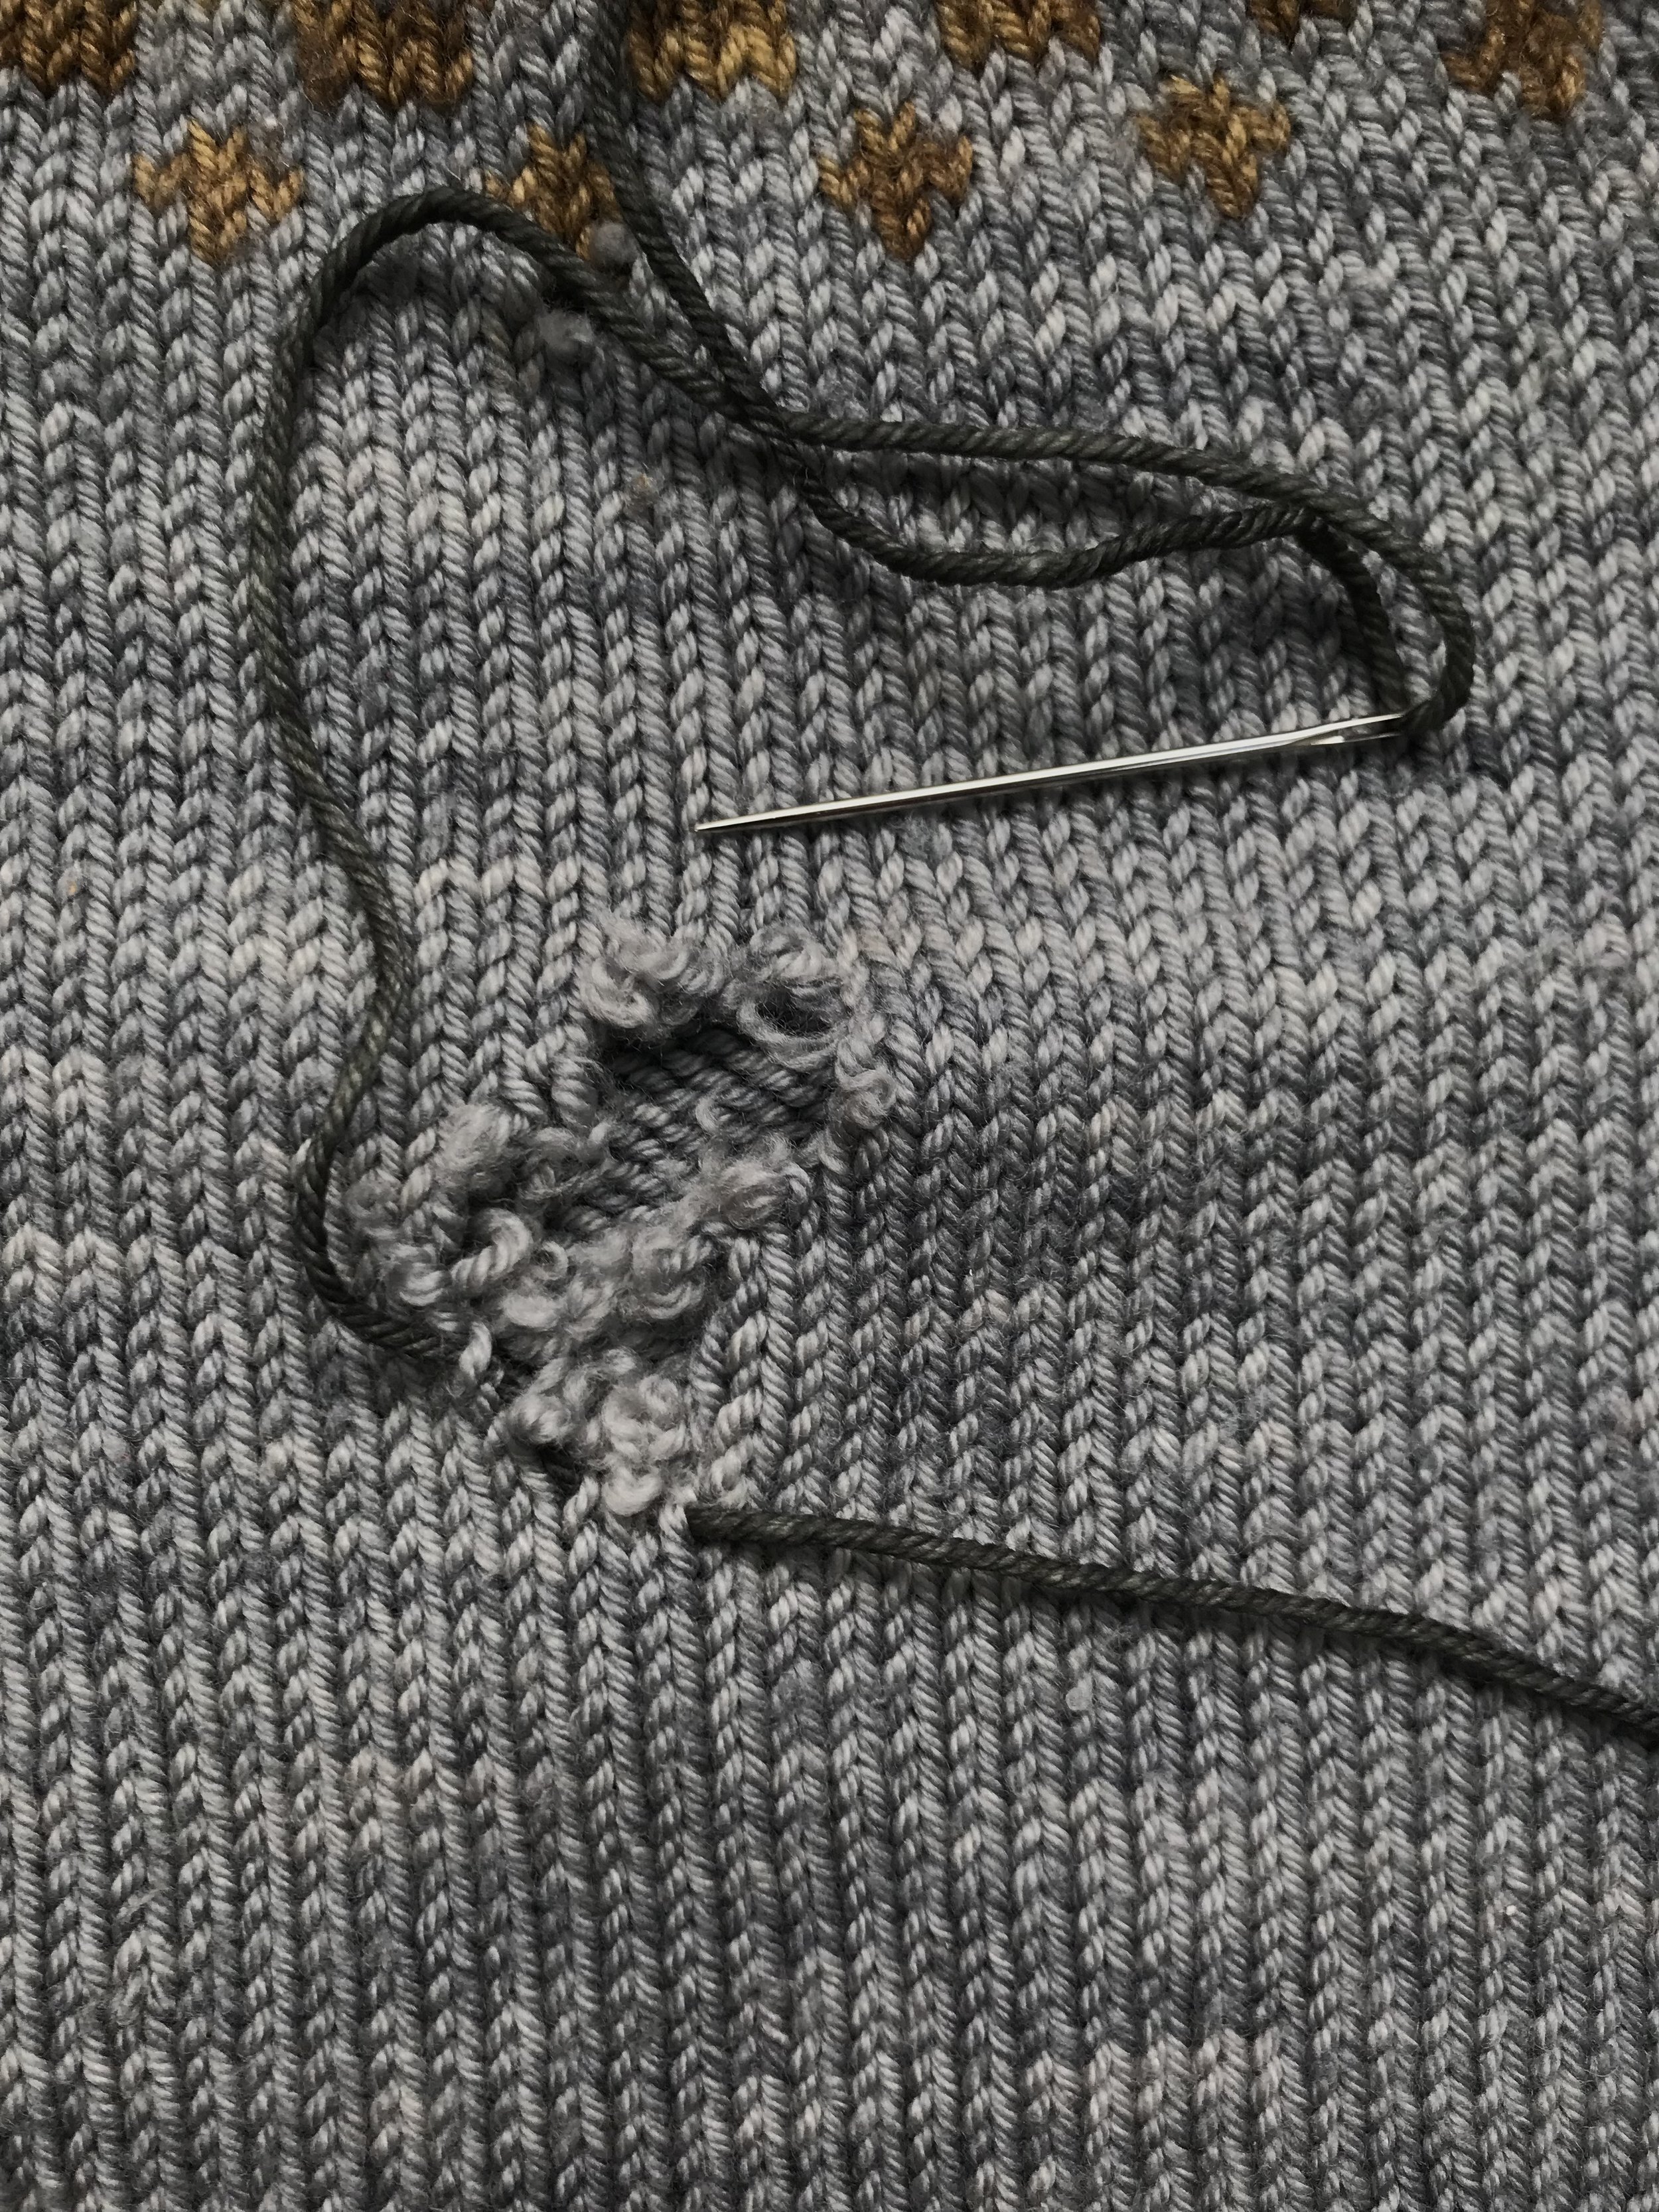
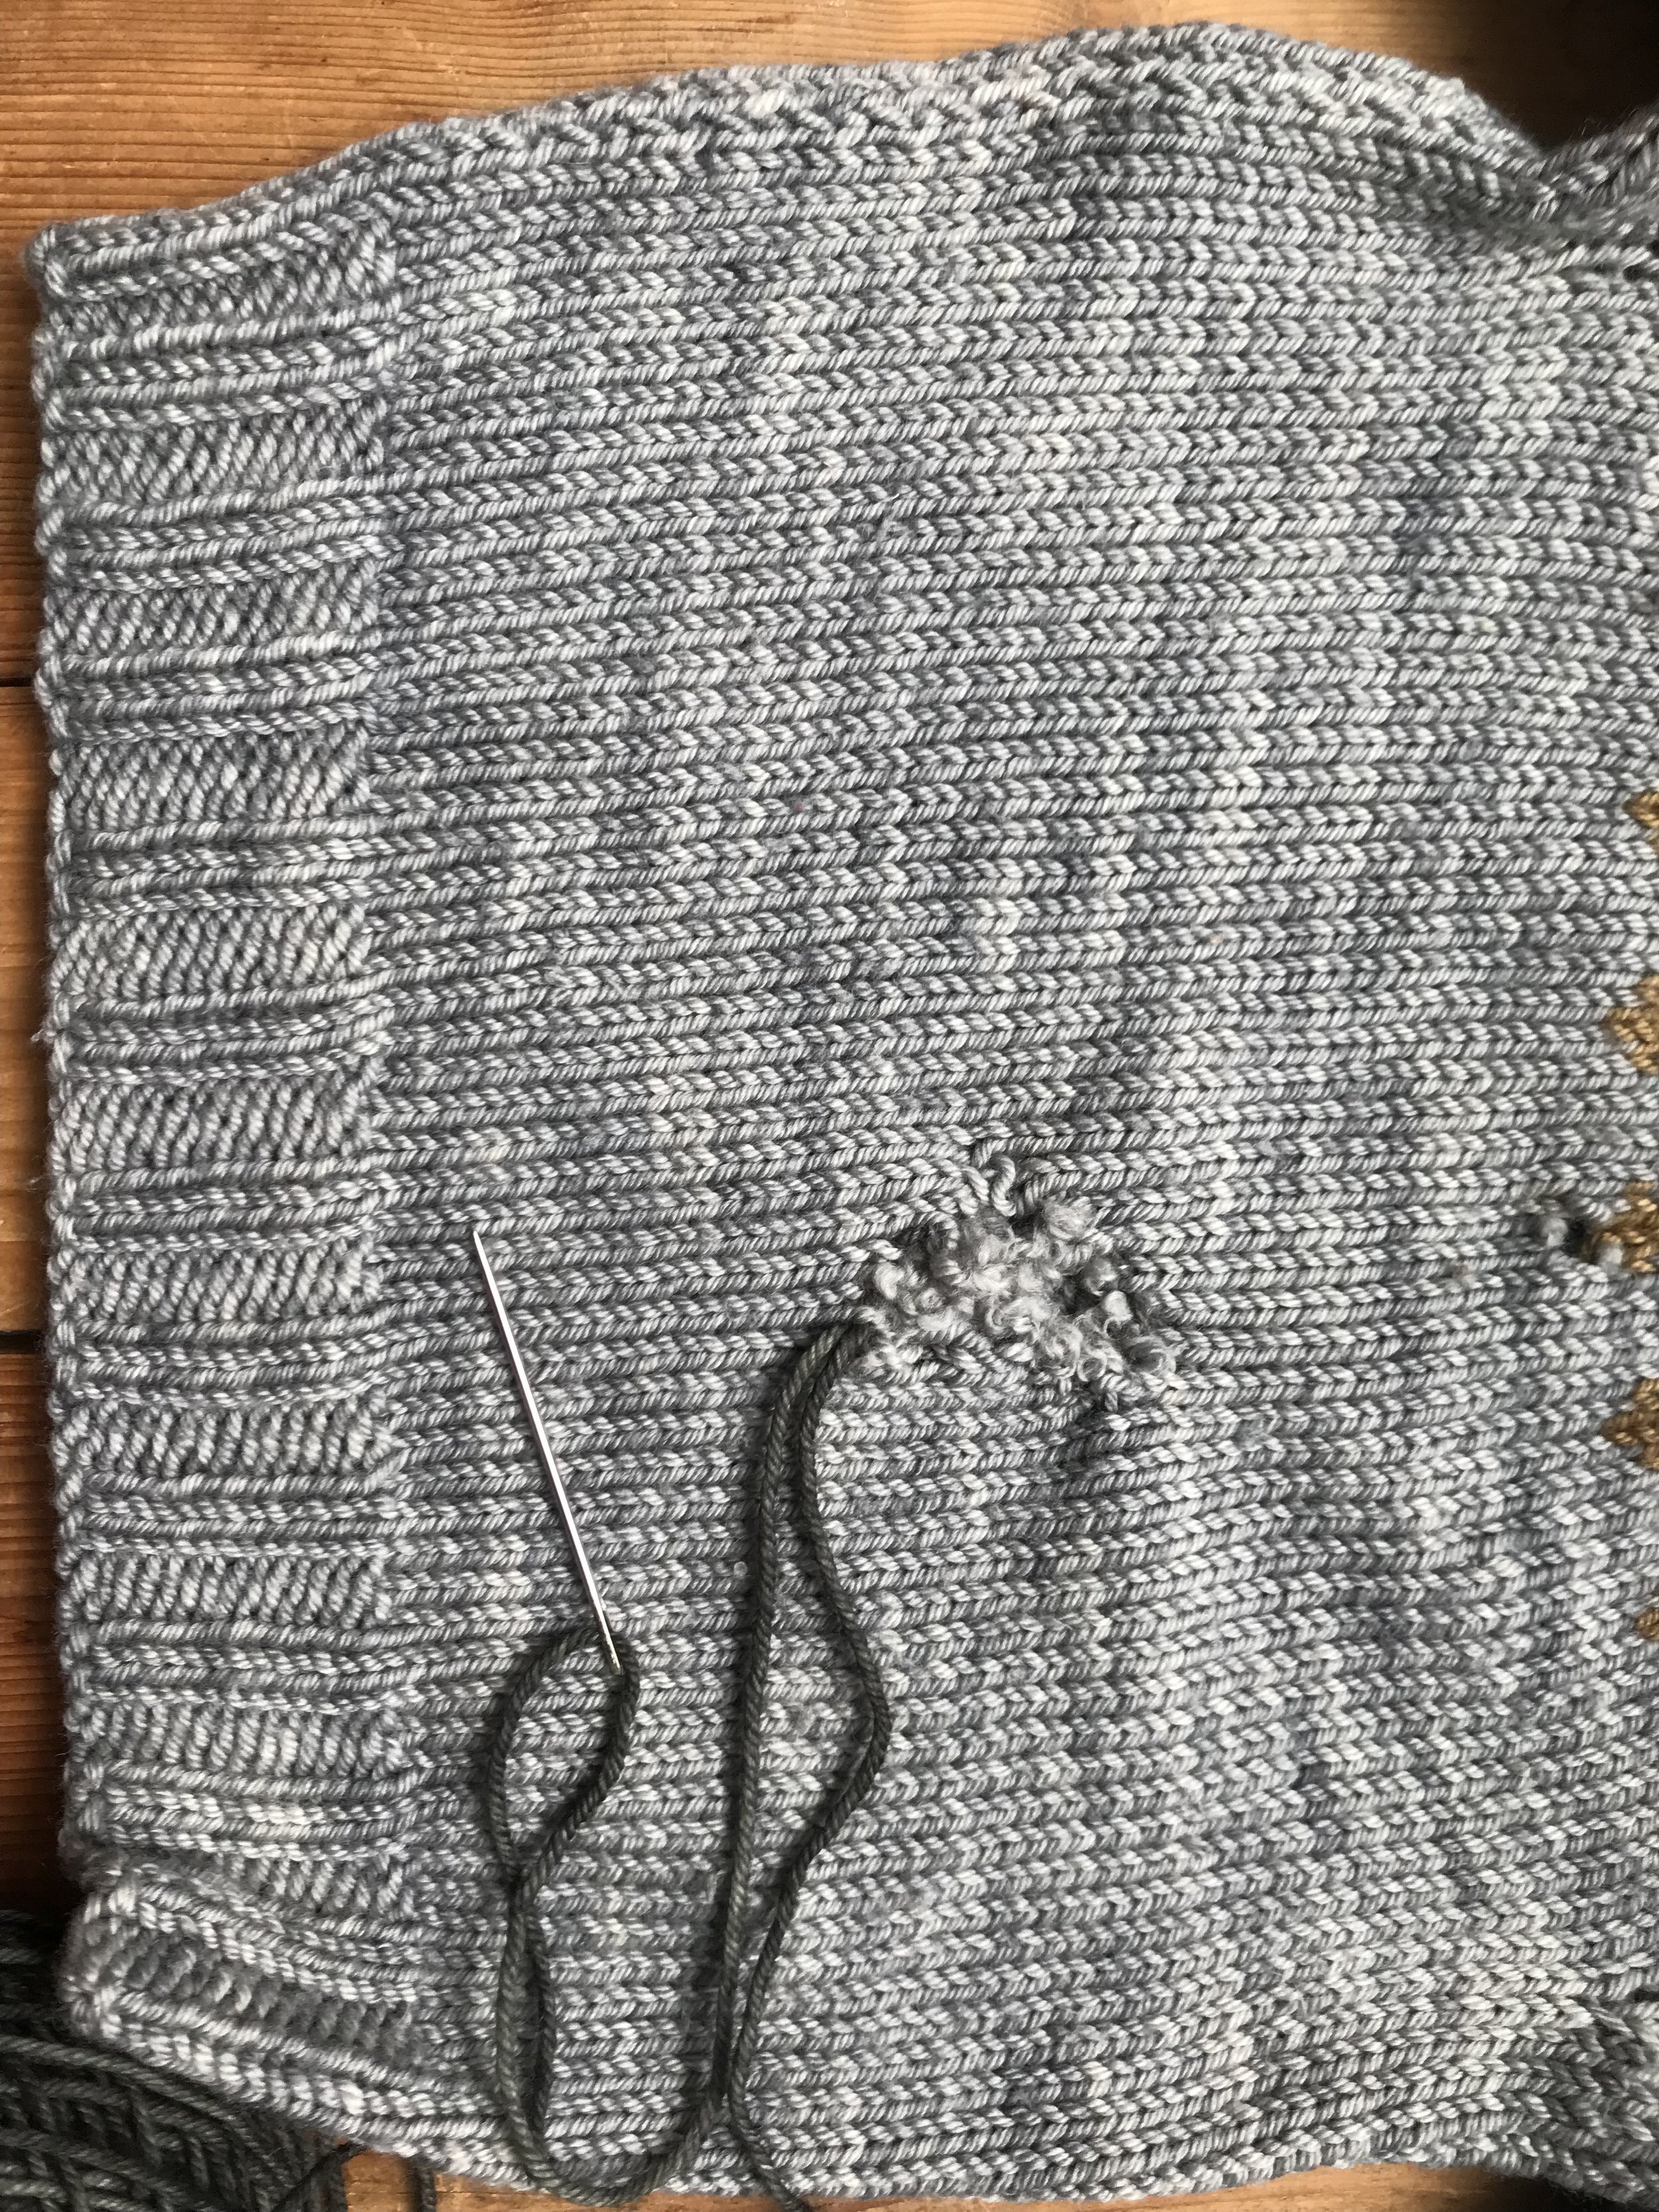
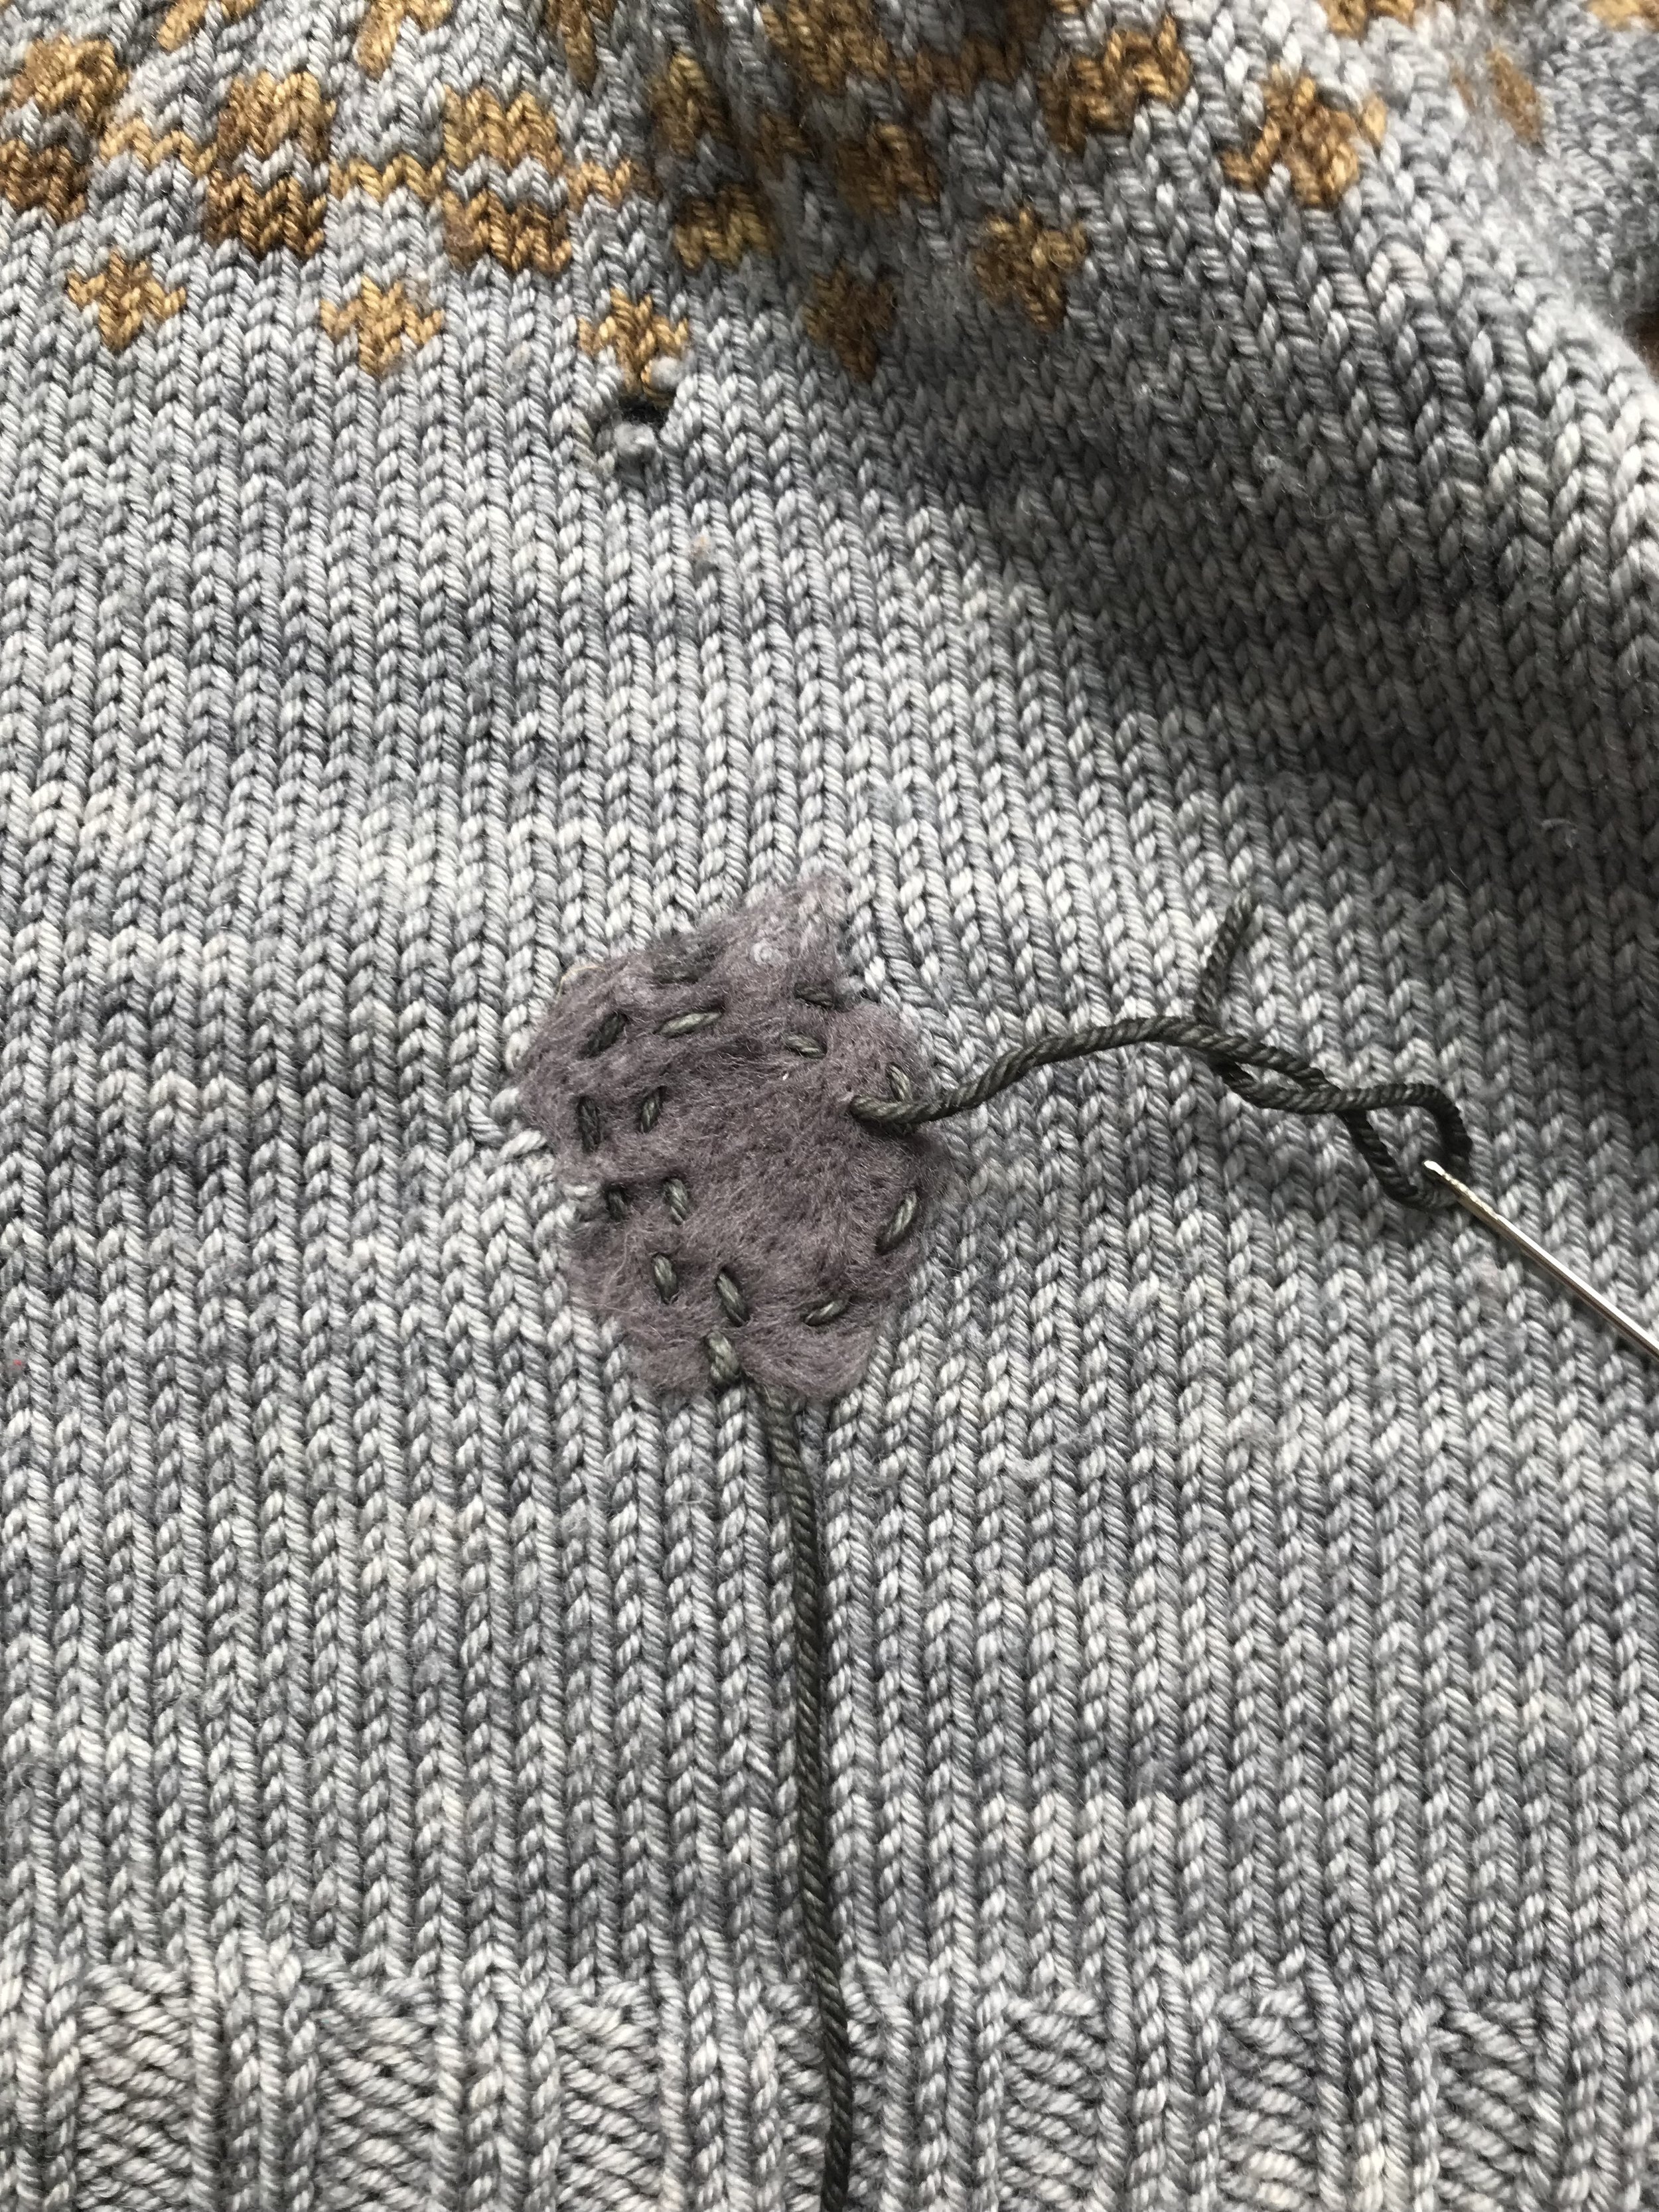
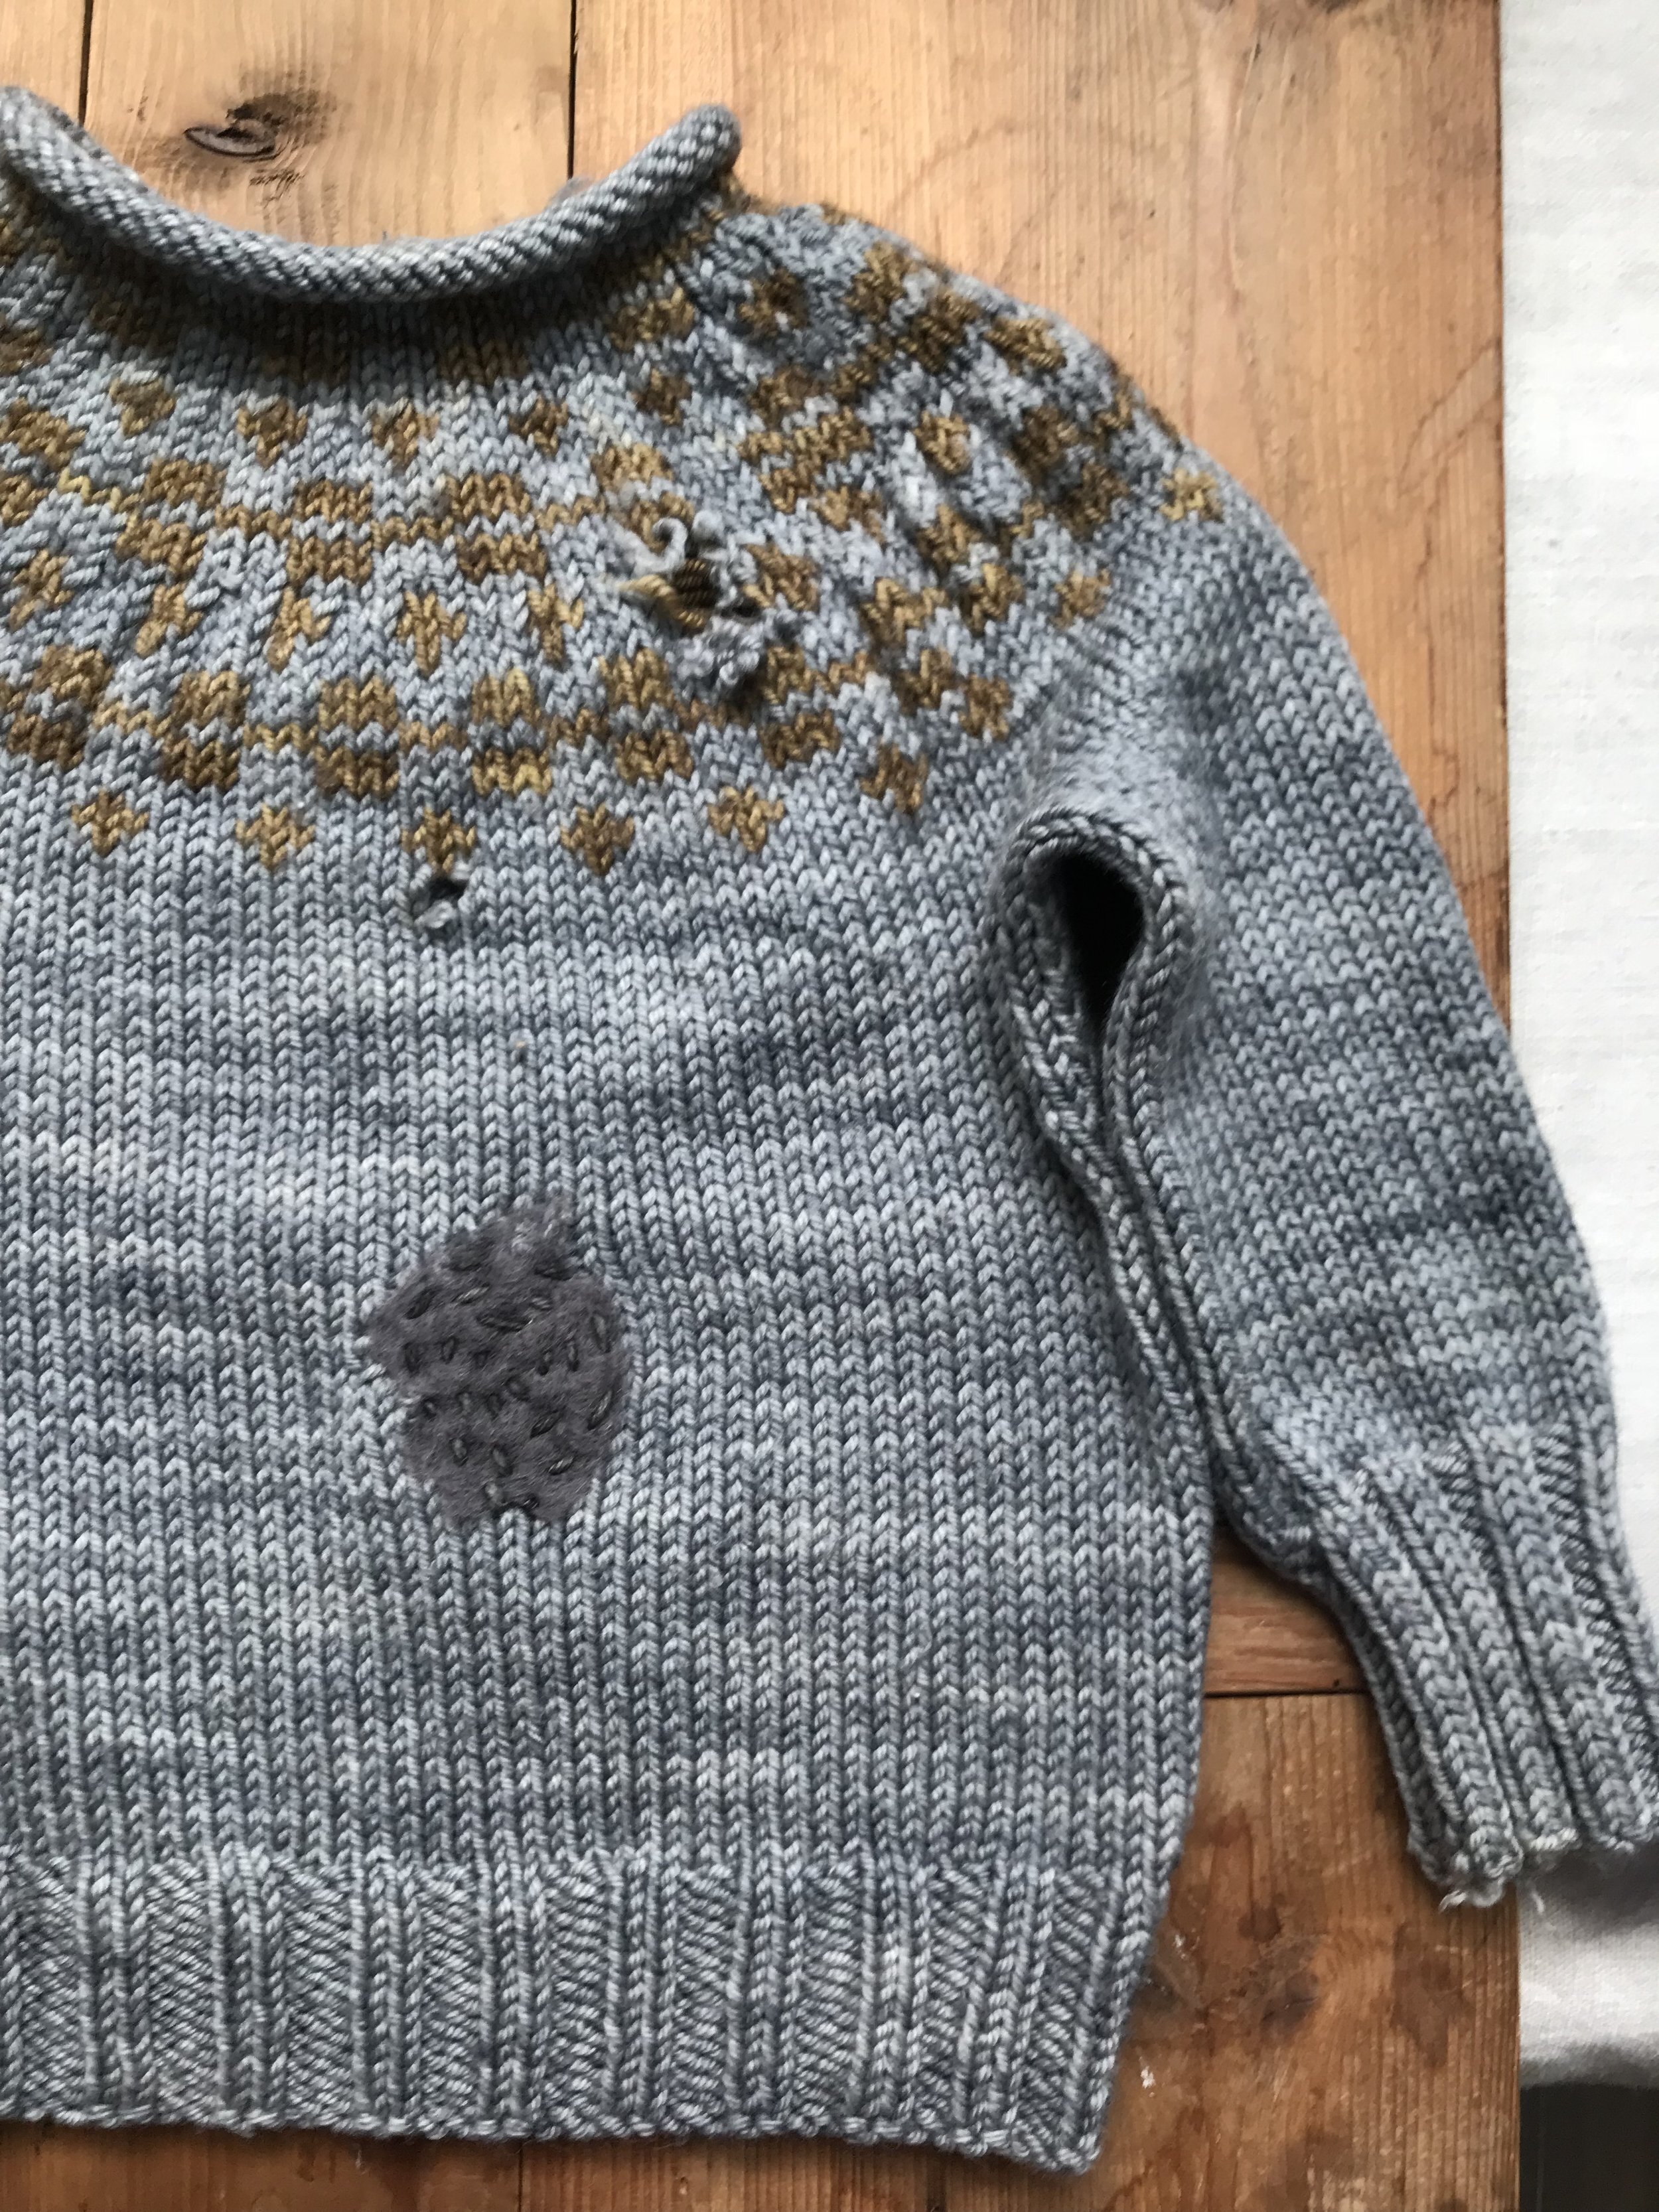
We also experimented with a sashiko-inspired stitching on top of the felting. This was a big hole to repair, so first with a piece of yarn and tapestry needle, we threaded as many strong (not broken) stitches as we could in a circle and drew the garment back into shape. Leaving these ends dangling, we then felted as above. After that we threaded the needle again and made concentric running stitches through the felt. I imagine this would be a useful repair for knees, which can use extra strength.


Be creative and have fun! We can’t wait to see what you do. Tag us #mishaandpuffrepairs